Sharpening
Paul Malley • 18 April 2022

SHARPENING
A few Blog entries back, I submitted a short piece of work regarding my use of 'Auto-ISO' which, I'm pleased to say, generated some interest and subsequent discussion at the Clubhouse. In a bid to keep alternative thoughts and views going, this time I'm including a section on my preferred method of Sharpening images (lights blue touch-paper and steps back...), - please note I said "my preferred method" as, not only are there a number of ways of sharpening an image, but it is one of the most 'Subjective' issues when concluding a workflow process.
Many DSLR units are fitted with an anti-aliasing filter in the sensor path, which counter affects the moiré patterning, or coloured cross parallax of some light wavelengths. Anything placed in front of the sensor, can optically reduce the efficiency of the light path so, to overcome this, a degree of sharpening of an image is required, to reinstate any corrective action. Newer DSLR and Mirrorless units do not all have this anti-aliasing filter, but sharpening is still applied within the workflow.
Sharpening works by producing a better defined line (NOT the same as contrast) at boundary edges, (in the good old wet darkroom, this was termed Acutance). The degree and method of sharpening as stated, is hugely subjective as, applied to the wrong style of image, or at the wrong focal viewpoint, or in too greater strength can be detrimental. I have seen the evolving of sharpening within 'Photoshop Elements' since about 2008, where it was issued as a simple one-click function under the 'Enhance' Tab as 'auto-sharpen'. This was a quick one-stop pass that applied sharpening via an algorithm which, although hit and miss at times, gave a somewhat credible change. In subsequent versions, it became more refined, and sliders were introduced, offering control into variable levels of overall sharpness. About 10yrs ago, a huge step-change came in whereby the edge radius and strength could be altered to suit, offering 0.1 pixel units. Nowadays, sharpening can be done on separate layers, combined with clarity, contrast and split down within different layers, even identifying selective target areas to sharpen, before they are all merged down like layers in a sandwich.
For me, in my current Affinity Photo Software, I use a 3-stage sharpening process (Please note there are differences at the final stage for presentation in Print format, or display as a PDI). I conduct each stage in isolation, and it is done as the final part of my jpeg workflow process before I save the image.
Stage 1. This is a PRE-SHARPEN action, where the minimal radius and strength factor are applied to the overall image via the strangely termed 'Unsharp Mask' (each part of the image gets the same sharpening factor in one operation).
Stage 2. This is CREATIVE or SELECTIVE Sharpening, where I can select/identify what part of the image I wish to enhance beyond Stage 1. It may be the model's eyes, a tree in a landscape, or a head-on motorcycle fairing. In this stage, using a New Layer, selecting a brush, I work round the item and check it is bounded by the infamous 'marching ants'. Once identified a second pass is given using the same as in Stage 1. Once completed, a simple deselect of the marching ants shows the added 'pop' of the detail within the selected area. I then Merge/Flatten the Layers into one.
Stage 3. The final action is termed OUTPUT Sharpening. For me, working in PDI, I resize the document to the longest 1920 x 1200 format and apply a final overall sharpen in Unsharp Mask at a low output. This third and final stage can be dramatic as it is at the output for a good projected resolution.
If all has worked well, the image should have a nice, overall sharpness courtesy of stages 1 and 3 and the main point which the viewer may concentrate or gravitate to should have that extra pop, courtesy of Stage 2.
As a small aside, I remove my Noise during RAW conversion, as you don't want to be working on a noise image, either by creating Layers and putting Noise on top of Noise, or sharpening Noise at three separate stages. Noise can also have the effect of apparent sharpness reduction, - so get rid of it early.
Be wary of over sharpening, it can lead to artefacts, jagged edges or fringing, in worse cases it can also promote haloing or banding separation. Sometimes, less is more and I usually 'back-off a bit' on my final sharpening, rather than push a sharpening boundary.
Have a try with small amounts of sharpening, on different Layers (always on a working copy file, not the original primary jpeg) and pick something out that you want the viewer to look at. I have done my 3-Stage approach on this image of the Kingfisher, with selective sharpening applied to the head and leading edge of the wing.
Louth Photographic Society

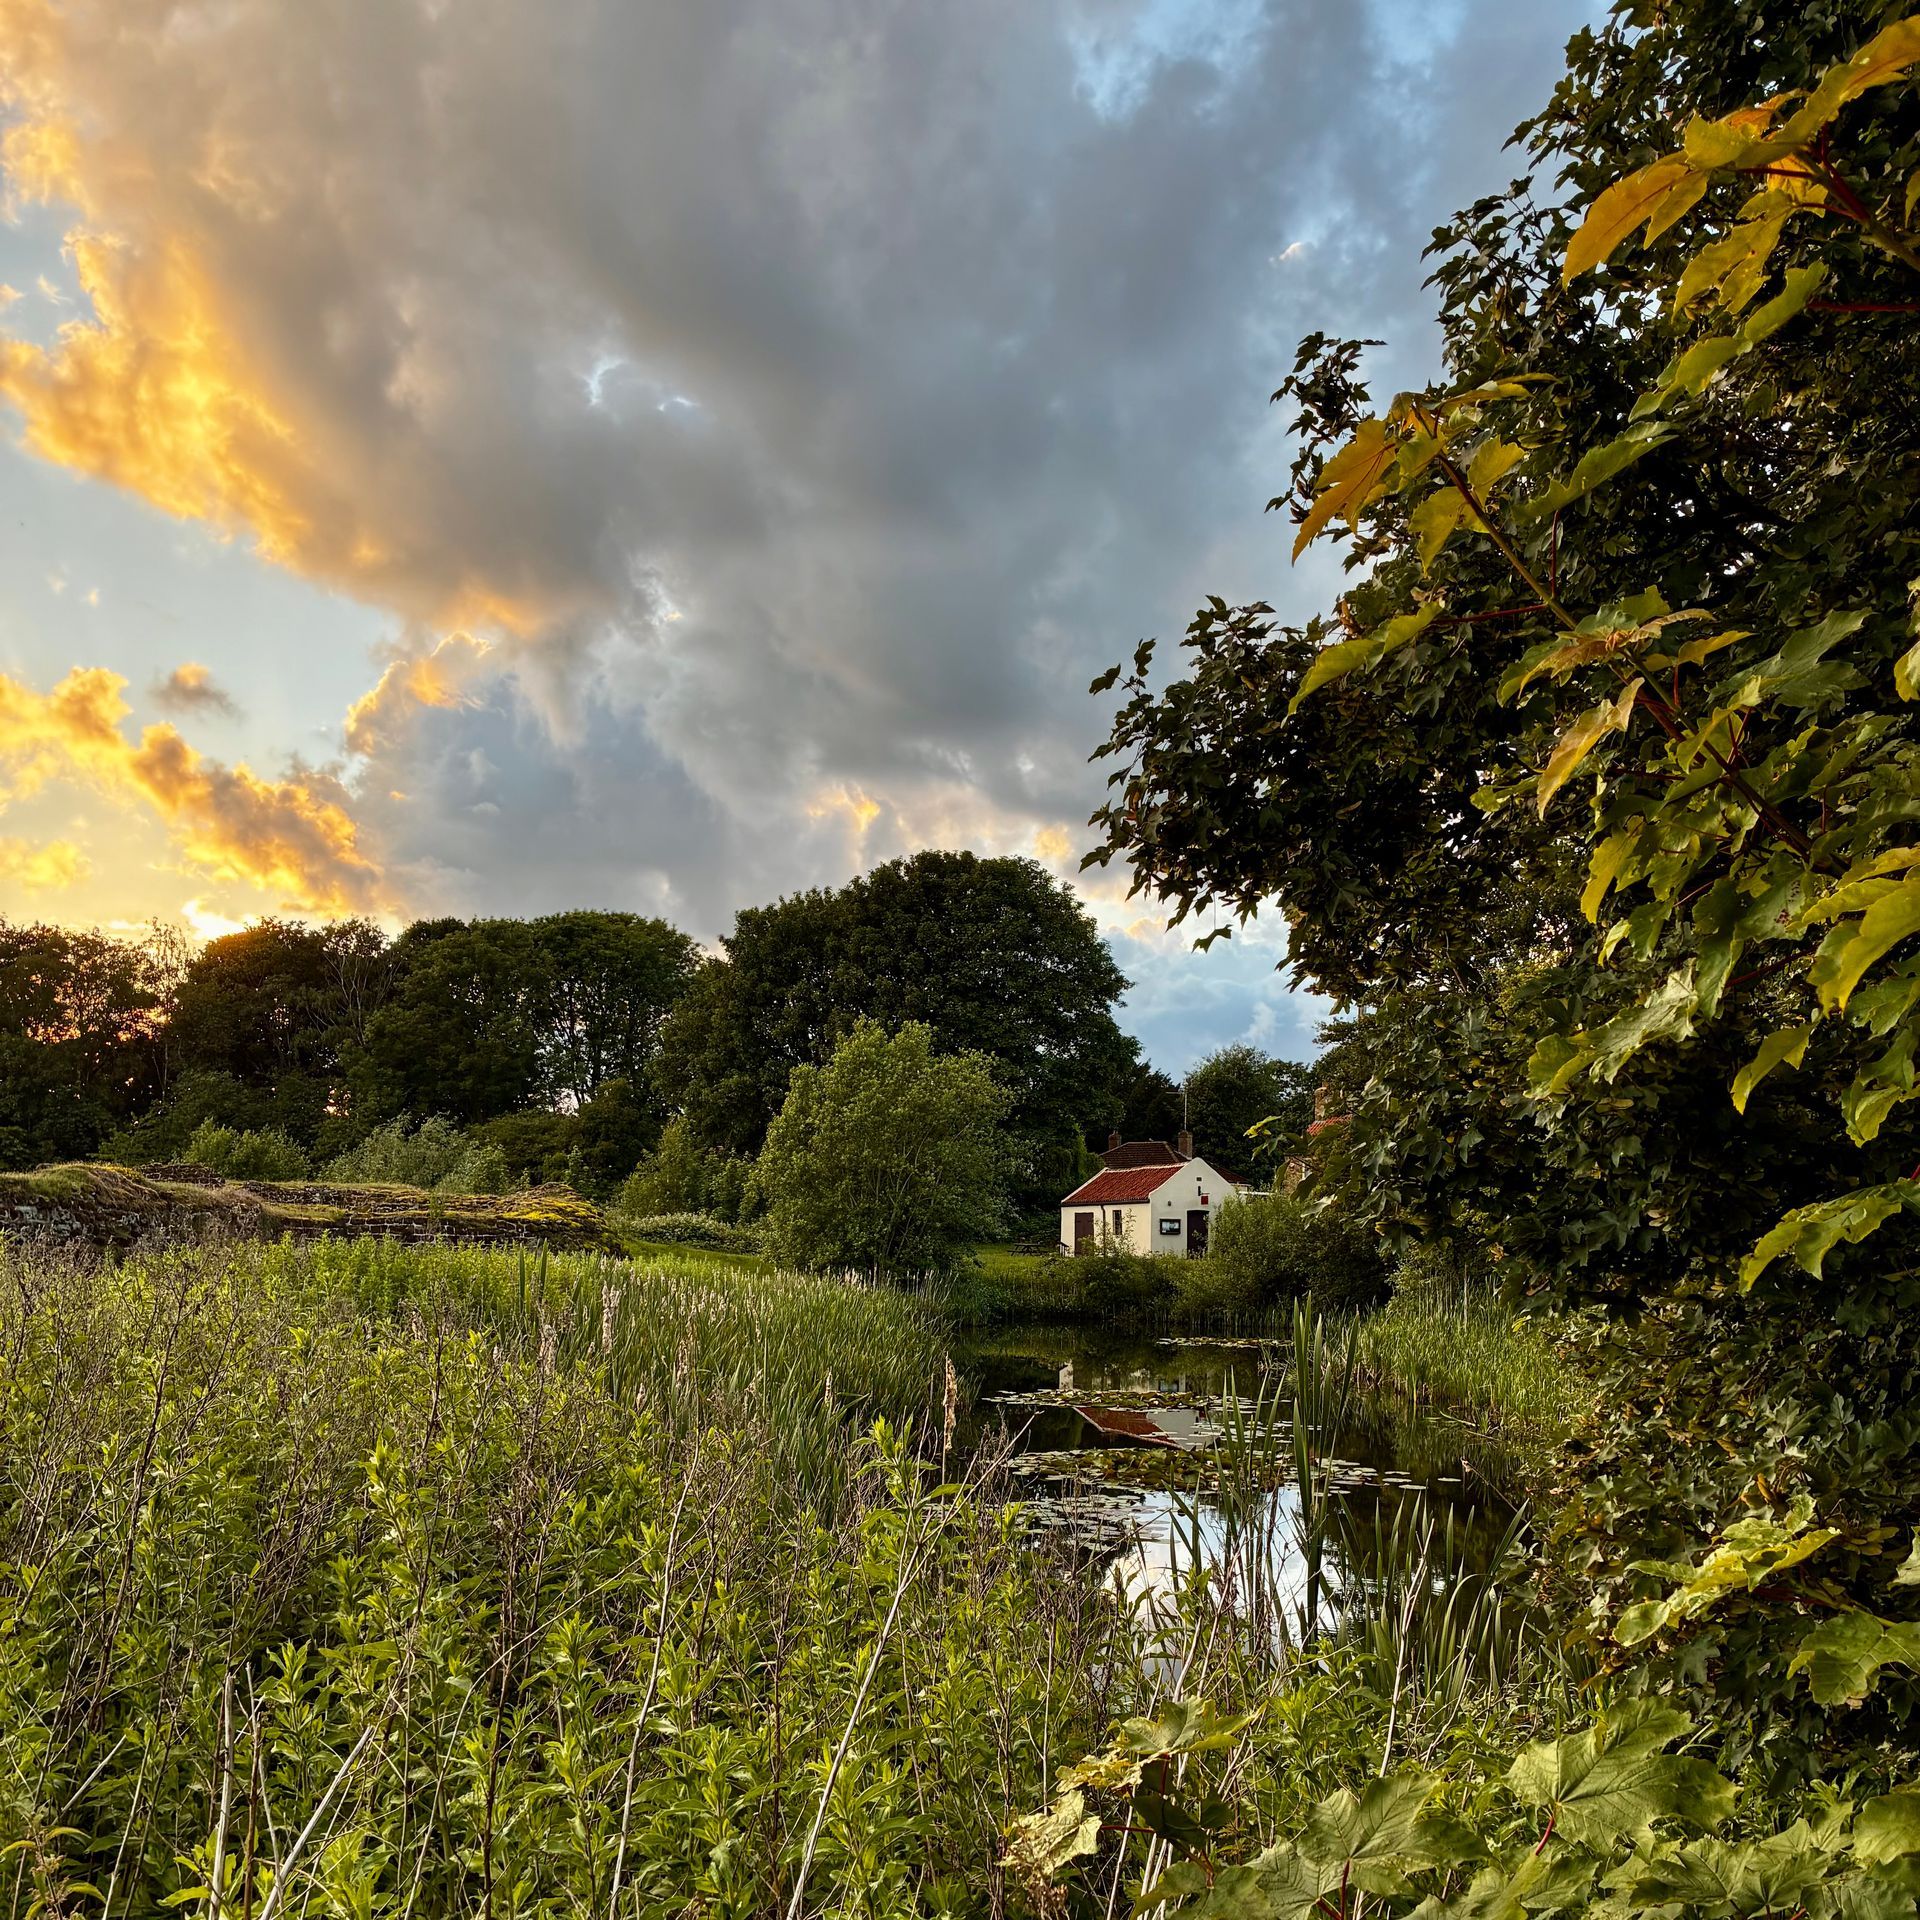
Last night’s Louth Photographic Societies outing to Kirkby gravel pits nature reserve was cancelled as some members preferred to watch some sporting gentleman by the name of Harry Kane. (Congratulations to the England team) The reserve is small, and simply laid out, a public footpath leads along a tree lined avenue to the river Bain at the back of the reserve. Historic sand and gravel extraction has left a large lake in the centre of the reserve, several ducks and waterfowl inhabit the lake and there is a bird hide on the shoreline. Returning to the road, there is a path running parallel to the road bounded by a hedge, insects of various types can be found in this area, damselflies, butterflies, and hover-flies are often prolific. Our outing to Kirkby Gravel pits is now scheduled for Wednesday 22nd July. Parking is on the verge by the roadside. Kirkby Gravel pits are fairly close to where I live, and it’s reserve that I often visit, these are some photos from a visit in July last year.

Good morning, All, Last week at the club we had our monthly print competition, Trees and Open. There was a very good entry with a high standard of photography on show. Tony Gaskins was first in the Open and I managed a first in the trees, all the results are on our website and there is also a blog on the evening. This week, Wednesday 1st July, we are having an outing to Kirkby Gravel Pits, if we meet at 6.30 at the reserve, though you can arrive earlier as there are usually dragonflies etc around the entrance. If we walk straight ahead first, then anyone who arrives late can find us. I have struggled to find a map, but you can see the location on the Lincolnshire wildlife Trust website. Kirkby Grave Pits is also a good reserve for birds. Tattershall Road 1 mile south of Kirkby-on-Bain Woodhall Spa Nearest postcode LN10 6YN. Please note - postcodes are for the nearest registered address as we are unable to get postcodes for nature reserves.

A print competition was held last night with the categories of "Trees" as the subject, and "Open". Our judge for the evening was Gail Wrigg from Barton who did an expert job. The first category to be judged was the "Open" with the high standard of prints making the choice of top placement difficult, and Gail held back 9 prints for further evaluation. There were some chuckles from members around one of Richard Hildred's prints of wooden electricity poles titled "In my previous life I used to be one of them" an "in" joke from Richard, which totally baffled Gail. After the break Gail judged the "Trees" category, with 7 prints held back this time for awarding of higher marks, the beautiful colours of some trees, especially the autumnal images contrasting with the stunning monochrome infrared prints from Richard Hildred. It was a great evening, with excellent prints on display, and the website Competition page has been updated with the full results.

Good Morning All Last week we visited the nature reserves at Fir Hill quarry and Muckton wood. I have written a blog report on the evening which is on our website. You can always try something a little different like I did using camera movement. This week, Wednesday 24th June, a print competition will be held, with the categories of "Trees" and "Open" and is to be judged by Gail Wrigg. The following week we have an outing to Kirkby Gravel pits. If you want advice on camera settings etc the outings are the perfect opportunity to ask other members while we all have our cameras. Regards Graham

Each year Louth Photographic Society begins a new project, one photo taken each month on a specific subject, that's 12 photos presented on "Project Night" in January. Last year the subject was "Prime Time" one photo each month taken with the same fixed focal length lens. This year the subject is water, the subject sounds easy enough, and I've completed 5 photos already, but I'm struggling a little with a photo for June. I'm currently on holiday in Corfu, an island surrounded by water which should be easy, but I'm yet to find the "definitive" photo for the project. These are my photos so far this month: Best regards Derek

Good Evening All

Summer is here at last, maybe?
Last night a few of our members had an outing to Old Bolingbroke village. Initially visiting the Lincolnshire Wildlife Reserve of Sow Dale, off Spilsby Hill at the village entrance, I was a little hesitant at first at entering the reserve because of the grazing cattle. When the cattle herd moved up the hill we climbed over the stile and entered the reserve, as we began to take some photos around the reserve though, the herd returned, but seemed quite docile. Later in the evening we moved on to Bolingbroke castle, and took several photos of the castle, fauna, and flora. It was a lovely evening, good to get out with cameras, and socialise with others.

Good Morning All Last week I went to the Lincoln cathedral to see Queen by candlelight, a great night of music and some different lighting in the cathedral. Last week at the club we held our 1 st round of the LPA Battles against Grimsby and Scunthorpe. Members from the two other clubs attended making it a very full room with some excellent photography on show. Scunthorpe won on 255 points, Louth 2 nd with 250 points and Grimsby 3 rd with 245 points. This week there is a 2 nd round LPA Battle at Grantham on Tuesday evening, if any member wants to attend, please contact me for more details. We did decide to have an outing on Wednesday 10th June, I had thought of Donna Nook, but Derek has come up with another idea, Sow Dale and if time permits Bolingbroke Castle both out Horncastle way. Derek is going to see if it's worth visiting Sow Dale and will let us know. Don't forget to send your print titles to Dave Turner. Regards Graham

It was the LPA Battles last night, with Louth hosting Scunthorpe, and Grimsby. Diane Seddon was the judge for the evening, and gave excellent critique of all the the prints presented to her from the three clubs. Our club room was packed with our members, and representatives from Scunthorpe, and Grimsby clubs. At the break the points scores appeared fairly evenly matched. However, it was the highest scoring prints that swung the competition in favour of Scunthorpe, their still life prints of "Sunflowers", and "Weights and Measures" scored 20 points each, taking their cumulative score to a winning 255 points. None of Louth's prints achieved 20 points, but ended with a respectable 250 points. Grimsby produced some strong prints, "The Road to Talmont", and "What's Your Name?" received 20 points each, their overall score was 245 points. As Diane Seddon said the submitted print entries were of a very good standard, resulting in a closely matched contest. Congratulations to Scunthorpe for securing the lead in this LPA Battle round contest.