Photo Editing
Derek Smith • 21 July 2020
Faststone, Serif Affinity, and Skylum Luminar 4

Before Editing
Photo By: Derek Smith

After Editing in Luminar 4
Photo By: Derek Smith
Photo Editing
Editing of digital photographs is always an emotive subject, and one in which photographers will hold very varied viewpoints.
I was opposed to editing photos to a great extent, perhaps a little crop here, and a bit of contrast enhancement there but that was about it, I still believe fervently that you should concentrate on getting the images as good in the camera as you can, after all if the highlights are blown out, then no amount of software editing will retrieve those.
Now however I quite enjoy photo editing, and like many of our Society members I prefer the “one-off” purchasing model for software.
So, what do I use? Well on my Windows laptop I use a freeware program called Faststone, nothing that I’ve used on any operating system comes close to this for versatility, I primarily use this for reviewing my images for further editing, but it’s a powerful editing tool in itself. The Faststone viewer operates in full screen mode, move the mouse cursor to the top of the screen to see the images in the file that are being reviewed, move the cursor to the right to view the camera information, moving the mouse cursor to the left reveals the editing panel. What makes this software so great, well for me at any rate, are the keyboard shortcuts, use the right / left arrow keys to scroll through the images in a file. The keyboard shortcuts are all listed on the editing panel, so a typical workflow would be: “X” to crop an image, “CTRL + E” for the contrast, saturation, brightness, and colour edits, followed by “CTRL + R” to resize an image, for web use, or club competition purposes.
My next piece of editing software is Serif Affinity, the layers, and masking tools in this software are really easy to use and make this an ideal editor for composite images, the tone mapping, and split toning are also easy to understand and use, it is a very solid piece of software, the tools are easy to use, and there are excellent tutorial videos on the use of the software.
Next, is Skylum Luminar 4, for me personally the AI (Artificial Intelligence) controls are the standout feature of this software. As an example, sky replacement; in other conventional editors time is spent creating a mask getting the “marching ants” just in the exact place, then pasting in the sky, and adjusting the lighting afterwards. In Luminar 4, one click, yes one click replaces the sky, simply select the sky from a drop down list (even better choose your own), and the job is done, fine tuning controls are there to defocus the sky, change the direction of light to match the shadows around the subject, just so easy. One of the features that I really like with Luminar is that it doesn’t create a separate Library of images duplicating everything on your computer, it adds the location of an existing folder of images to the Library. On the “Edit” panel are 6 categories: Layers, Canvas, Essentials, Creative, Portrait, and Professional. A recommended workflow in Luminar 4 could be 1) “Canvas” – crop / straighten. Next, 2) “Creative” – choose Color Styles, and select a style for the image from the Profile, or LUT. 3) Adjust Tone, “Essentials” – adjust the AI Enhance / AI Structure sliders, there is also a conventional “Light” panel with the familiar WB, Temperature, and exposure controls. 4) Apply noise reduction “Essentials” – Denoise. 5) Apply saturation “Essentials” – Color. 5) Apply sharpening “Essentials” – Details Enhancer – Sharpen. I find the “Portrait” category very useful, the AI Skin Enhancer is almost magical, only working on the facial smoothing. In conjunction with this is the AI Portrait Enhancer, all of the sliders in this panel just “work”, move the sliders to make adjustments. For example; to redden the lips simply move the slider, no need to paint in or select the lips with a mask, that is the power of AI.
Luminar 4 also has a set of pre-sets, these are called “Looks”, and can be applied to any image with one click, you can also readily create your own “Looks” pre-set which is what I did on a recent photoshoot, to enable each image to have that certain style, the process is really easy perform all the editing on a single photo of a set of images from the same shoot, save those edits as a “Look” pre-set, and apply to the reminder of the images in a set.
When complete Export the image to the desired location; CTRL / CMD + Shift + E, and a copy of the edited image will be saved, together with the original image.
Enjoy your photography.
Article, and photos Derek Smith
Louth Photographic Society

The LPA Battles competition was held last night at Axholme Camera Club, in Haxey Church Hall. I attended as the Louth Photographic Society representative, bringing the Battles prints with me. It was a closely fought contest with some excellent prints from Axholme, Barton, and ourselves. The judge for the evening was Steve Dormer, from Doncaster, and he was very relaxed in his judging of the prints, providing excellent critique on each print. At break time, Steve had held back a total of 13 prints for further assessment and award of higher points, Axholme, and Louth had 5 each prints held back, with Barton 3 prints. The attached photo shows all the held back prints on the print stand. At the end of the evening Axholme took 1 st place with, 266 points, Louth came 2 nd with 258 points, and Barton 3 rd with 251 points. As the prints were taken off the stand, one print remained, it was a Louth print titled “Sleeping” by David Whitehouse, this print was awarded 20 points, and the judge Steve was very taken with the image, well done David.

Good Morning All Last week members walked along the Swaby valley, we have done the walk before, but it is now very grown up with nettles, grass and brambles. Not put off Chris led us through the valley to Swaby, there were six of us plus three more who caught us up in Swaby. The butterflies we saw as I am finding out this year just don't want to settle but we did manage some photographs before returning and going for a drink in the Massingberd Arms. This week there is an LPA Battle at Axholme on Wednesday starting at 7.30, if anyone would like to attend, please email me for details or look on Axholme's website. We are not having a meeting in Louth this week, probably as well the way the football went last night and with the next match on Wednesday evening. Regards Graham

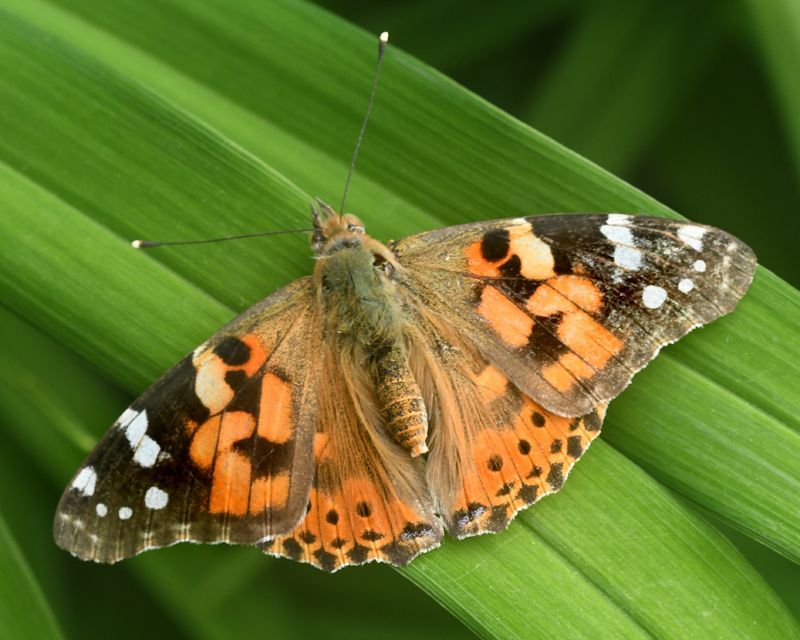
Last night our members enjoyed a visit to the Swaby valley nature reserve. We crossed over two fields from South Thoresby, then followed the course of the Swaby Beck chalk stream through the valley, the public footpath was bounded by dense vegetation that hindered our progress at times. There was plenty to see around the reserve, myriad butterflies flitted around in a very lively manner, making for difficult photography, I spotted several small grasshoppers, and soldier beetles in the long grass, I tried to photograph a ladybird, but it was gone by the time I focussed on the creature. It was a very enjoyable evening, with good friendly company, and our camera skills were needed for the macro photography, these are a few of my photos from the evening.

Good Morning All Last week's outing was re-scheduled due to a clash with a certain world cup match, the good news was a victory for England, however we intend to still hold the outing on Wednesday 22 nd July. I did go to the Festival of Flight at the Shuttleworth collection, Old Warden last weekend. It was too windy for some of the old Biplanes, but we were treated to a four-and-a-half-hour display featuring many planes that I had never seen fly before. The De Havilland Comet was built to compete in the 1934 race from Britain to Australia, only three were built and it's good to see it flying, the aircraft design was quite advanced for 1934. This week, Wednesday 8th July, we have another camera club outing to the Swaby Valley, meeting at 6pm. Swaby is just off the A16 heading from Louth to Skegness. Regards Graham

Last night’s Louth Photographic Societies outing to Kirkby gravel pits nature reserve was cancelled as some members preferred to watch some sporting gentleman by the name of Harry Kane. (Congratulations to the England team) The reserve is small, and simply laid out, a public footpath leads along a tree lined avenue to the river Bain at the back of the reserve. Historic sand and gravel extraction has left a large lake in the centre of the reserve, several ducks and waterfowl inhabit the lake and there is a bird hide on the shoreline. Returning to the road, there is a path running parallel to the road bounded by a hedge, insects of various types can be found in this area, damselflies, butterflies, and hover-flies are often prolific. Our outing to Kirkby Gravel pits is now scheduled for Wednesday 22nd July. Parking is on the verge by the roadside. Kirkby Gravel pits are fairly close to where I live, and it’s reserve that I often visit, these are some photos from a visit in July last year.
Good morning, All, Last week at the club we had our monthly print competition, Trees and Open. There was a very good entry with a high standard of photography on show. Tony Gaskins was first in the Open and I managed a first in the trees, all the results are on our website and there is also a blog on the evening. This week, Wednesday 1st July, we are having an outing to Kirkby Gravel Pits, if we meet at 6.30 at the reserve, though you can arrive earlier as there are usually dragonflies etc around the entrance. If we walk straight ahead first, then anyone who arrives late can find us. I have struggled to find a map, but you can see the location on the Lincolnshire wildlife Trust website. Kirkby Grave Pits is also a good reserve for birds. Tattershall Road 1 mile south of Kirkby-on-Bain Woodhall Spa Nearest postcode LN10 6YN. Please note - postcodes are for the nearest registered address as we are unable to get postcodes for nature reserves.

A print competition was held last night with the categories of "Trees" as the subject, and "Open". Our judge for the evening was Gail Wrigg from Barton who did an expert job. The first category to be judged was the "Open" with the high standard of prints making the choice of top placement difficult, and Gail held back 9 prints for further evaluation. There were some chuckles from members around one of Richard Hildred's prints of wooden electricity poles titled "In my previous life I used to be one of them" an "in" joke from Richard, which totally baffled Gail. After the break Gail judged the "Trees" category, with 7 prints held back this time for awarding of higher marks, the beautiful colours of some trees, especially the autumnal images contrasting with the stunning monochrome infrared prints from Richard Hildred. It was a great evening, with excellent prints on display, and the website Competition page has been updated with the full results.

Good Morning All Last week we visited the nature reserves at Fir Hill quarry and Muckton wood. I have written a blog report on the evening which is on our website. You can always try something a little different like I did using camera movement. This week, Wednesday 24th June, a print competition will be held, with the categories of "Trees" and "Open" and is to be judged by Gail Wrigg. The following week we have an outing to Kirkby Gravel pits. If you want advice on camera settings etc the outings are the perfect opportunity to ask other members while we all have our cameras. Regards Graham

Each year Louth Photographic Society begins a new project, one photo taken each month on a specific subject, that's 12 photos presented on "Project Night" in January. Last year the subject was "Prime Time" one photo each month taken with the same fixed focal length lens. This year the subject is water, the subject sounds easy enough, and I've completed 5 photos already, but I'm struggling a little with a photo for June. I'm currently on holiday in Corfu, an island surrounded by water which should be easy, but I'm yet to find the "definitive" photo for the project. These are my photos so far this month: Best regards Derek

Good Evening All